The allure of long exposures - a question of time
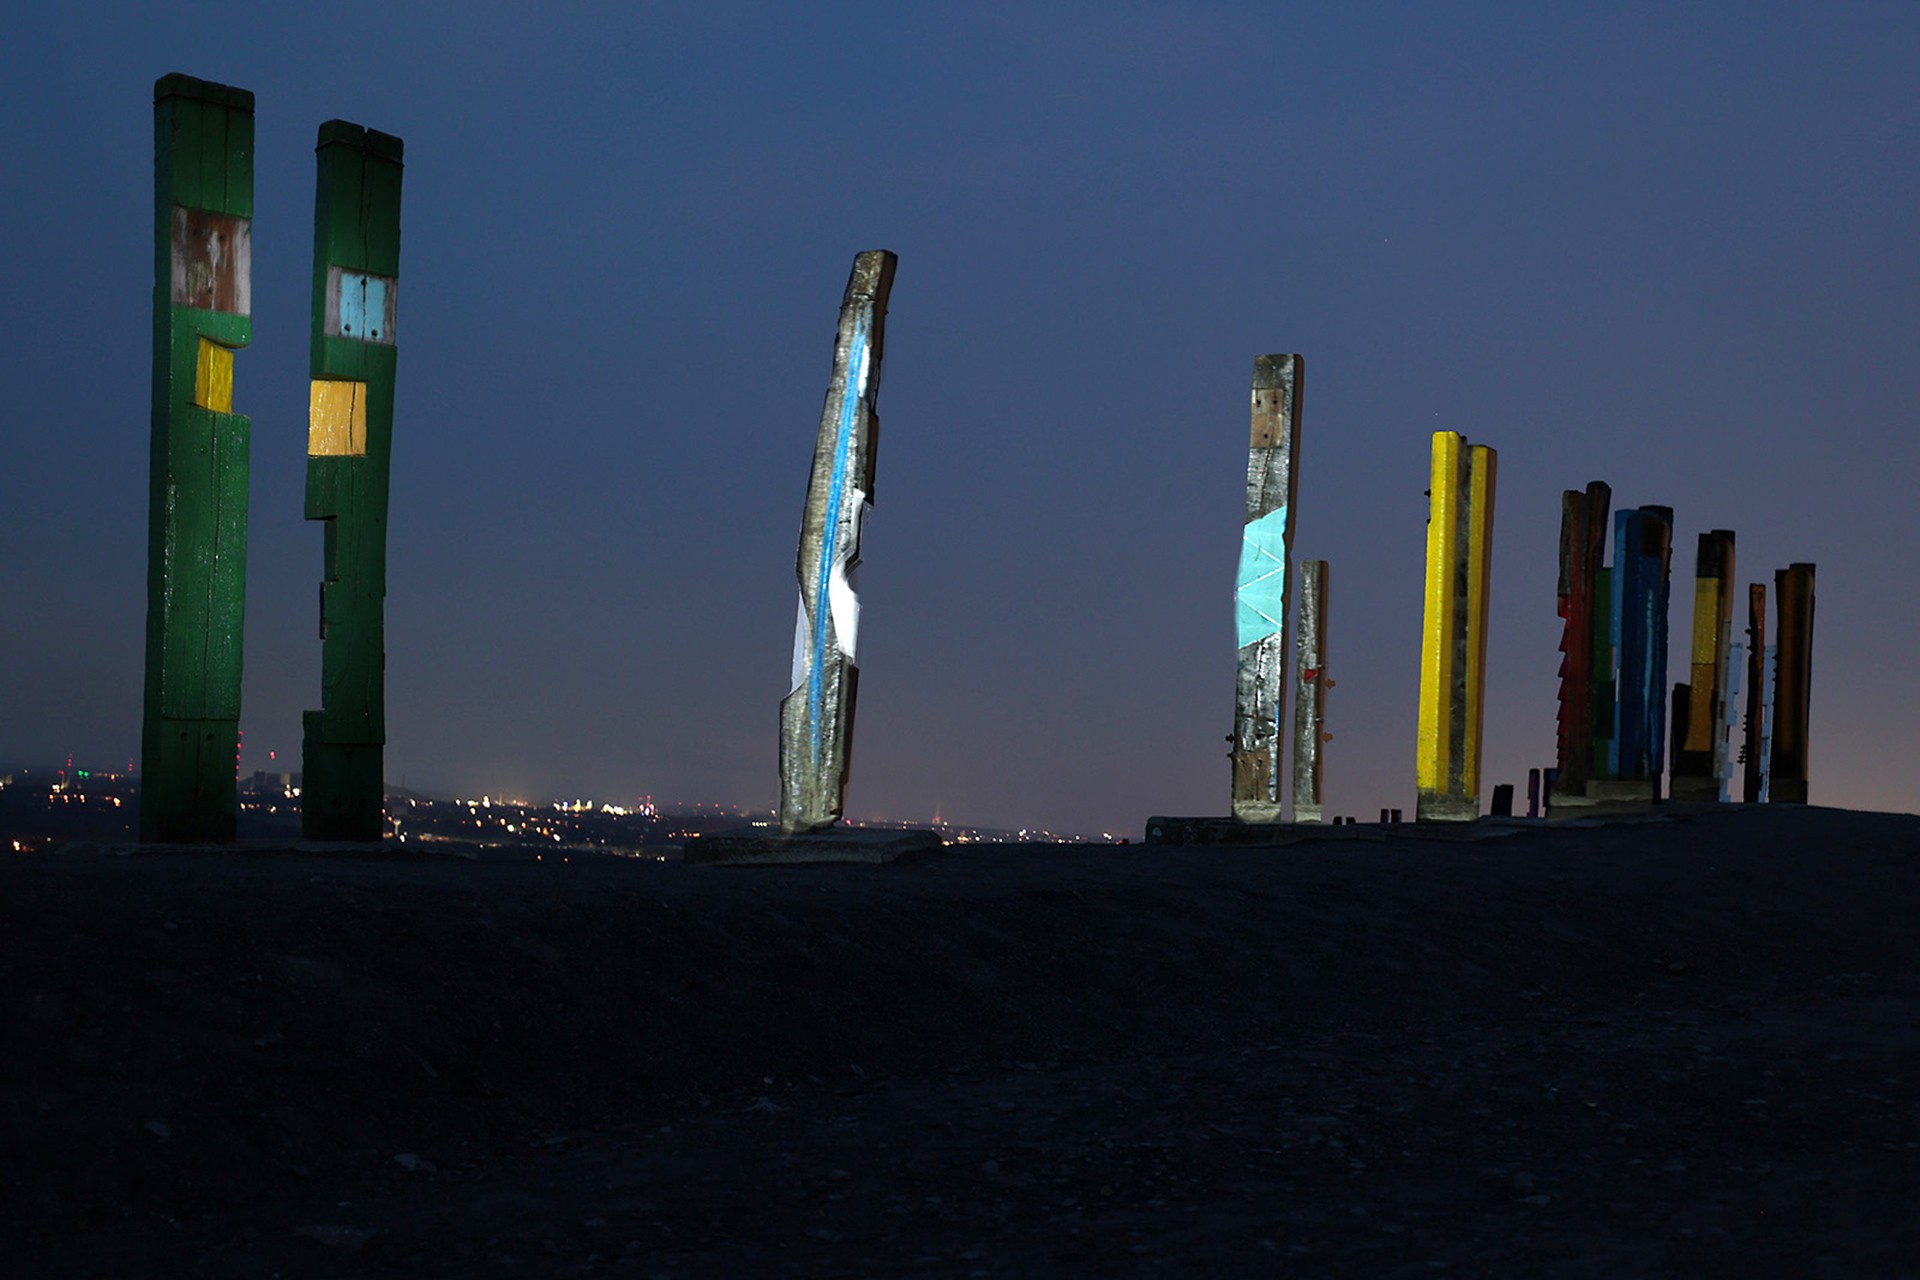
What do you do with the time you gain with bulb exposure? Bulb mode gives you between 30 seconds and several minutes, depending on the camera. This gives you plenty of time to get creative.
For example, you can use additional light to illuminate parts or areas of the subject. This allows you to direct the viewer's gaze within the image, or highlight certain parts of the subject to increase the viewer's attention. You can choose from a wide range of light sources, from torches to flash units. As with the tripod, the same applies here: The best equipment is what you carry with you. A Canon Speedlite or high-powered torch will fit in any camera bag. Today's LED torches also produce 1,500 to 3,000 lumens.
However, power is nothing without control, so the torch should be dimmable or have a power control. The torch version is better for beginners, as you get a direct impression of brightness and intensity. Adjustable beam angles help you to diffuse or focus the light. From area light to spotlight, a torch with these features can be used in a variety of ways. Multicolour LEDs also add colour options.
Canon Speedlite compact flashes emit light in a fraction of a second. The remaining time of the long exposure is reserved for ambient light or can be used for further creative additions. Fired wirelessly and triggered by light or radio signal, E-TTL metering is retained to assist the photographer. Good for spontaneous and moving subjects.
However, the flash light effect is difficult to judge in advance. Without additional light shapers, flash light is also quite harsh. However, a wide range of light shapers and colour filters can be used with the compact flashes, offering enormous creative potential.
Whether using a torch or a Speedlite system flash, you will find the right exposure setting by trial and error. The basic setting for long exposures is to start in bulb mode. You set the aperture you want to use and the exposure time - depending on the intensity of the light source and the ambient light - determines how long you leave the shutter open.
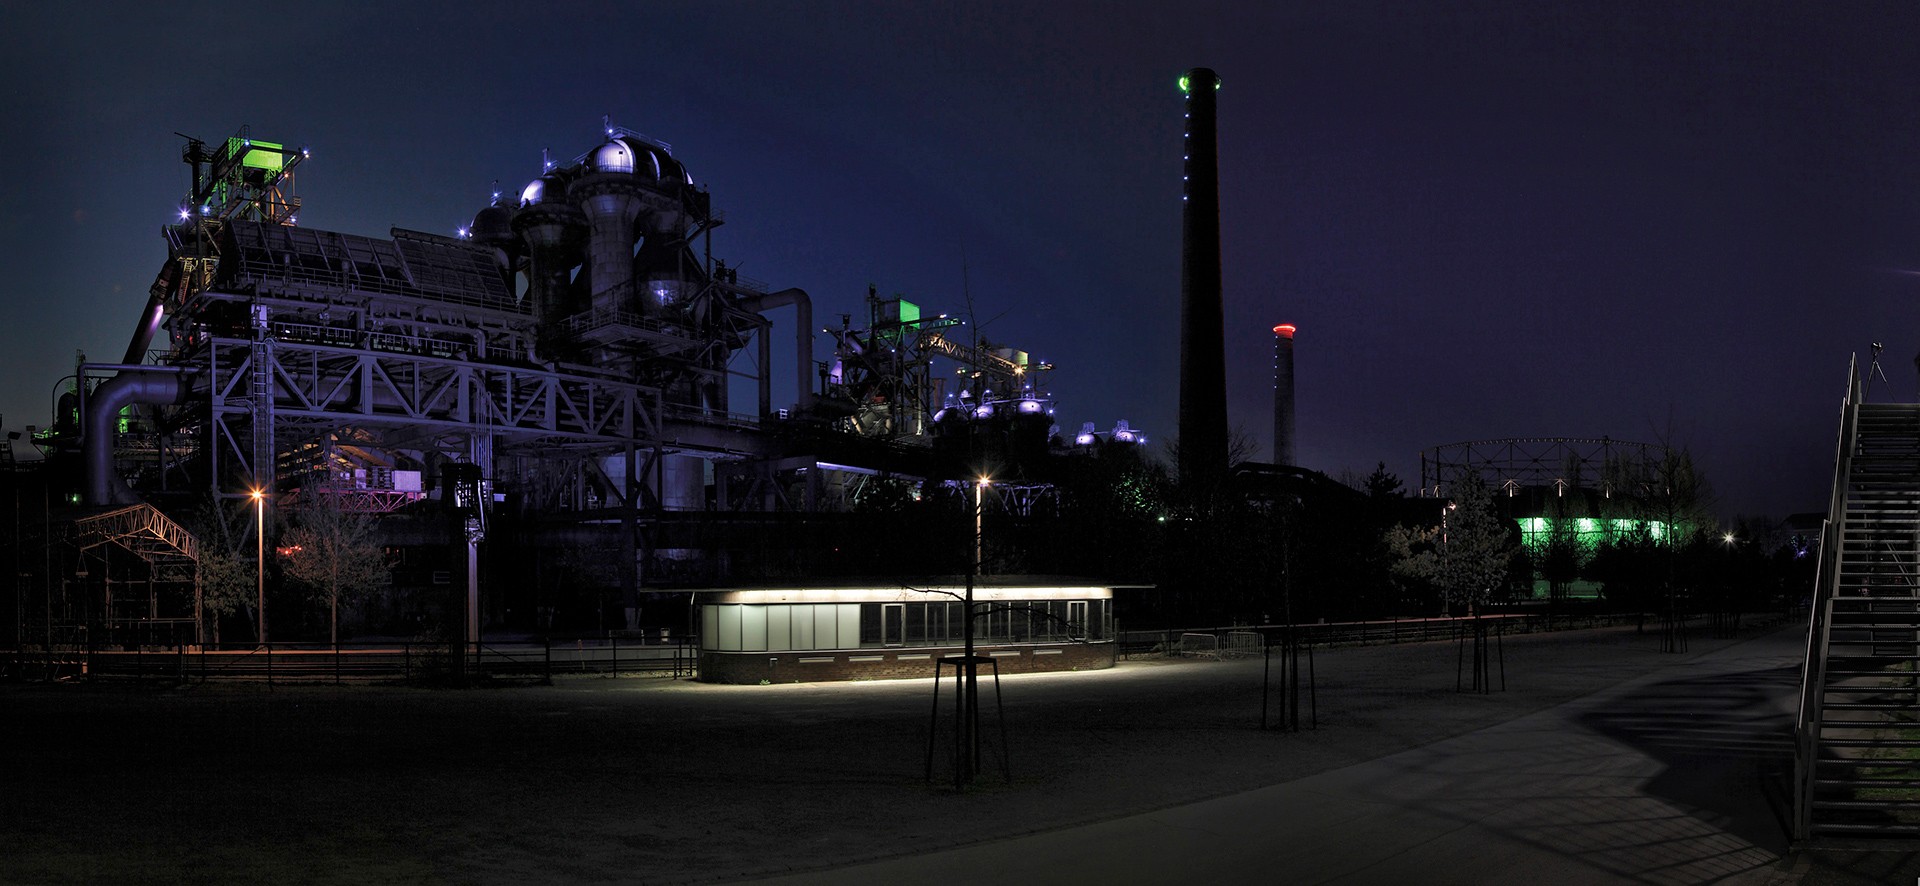
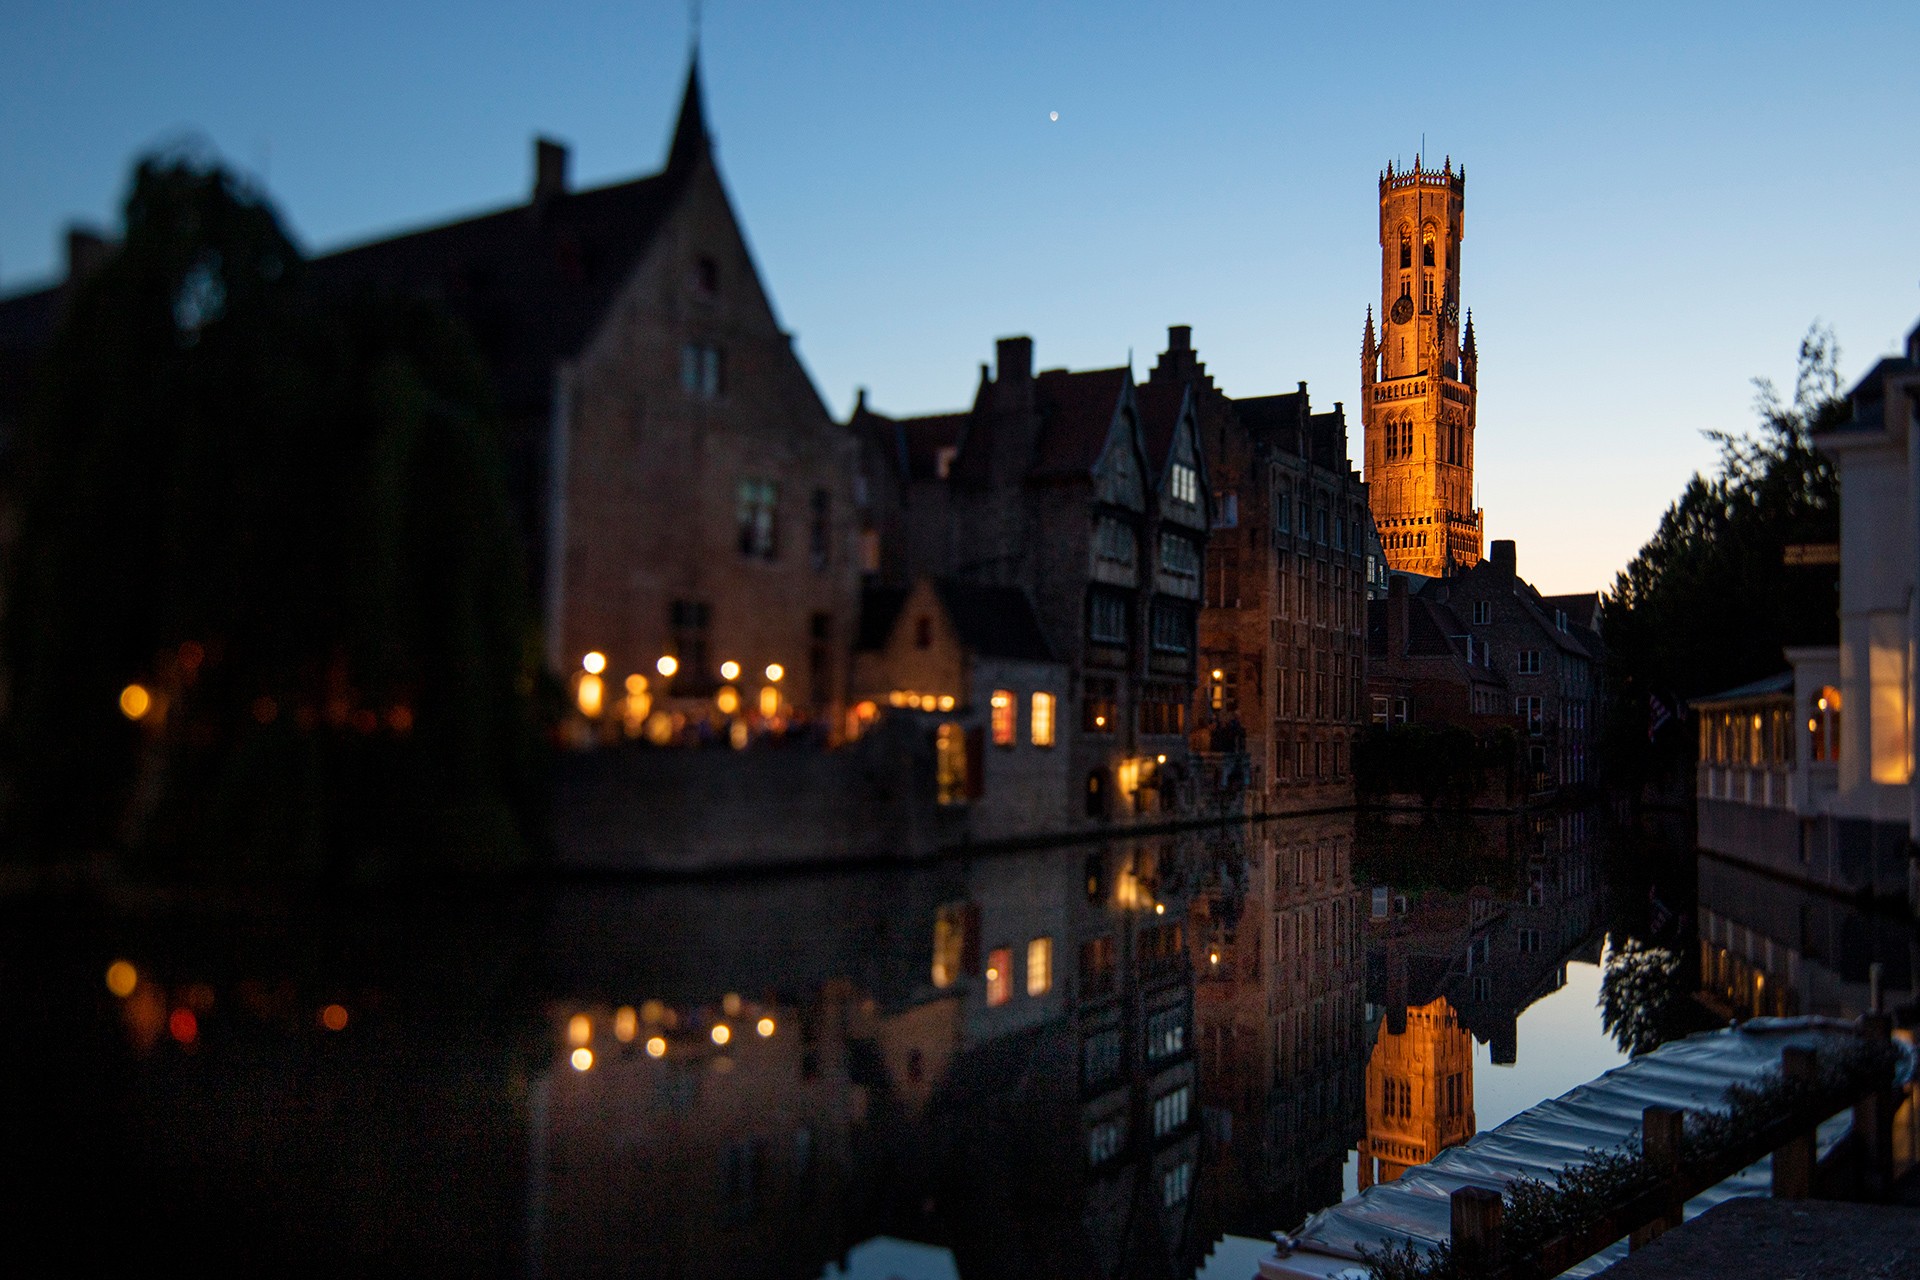
Natural light + artificial light = mixed light
In some architectural, travel and holiday shots, natural light meets artificial light. For example, illuminated monuments, landmarks and buildings that are atmospherically lit at dusk. You can stage these motifs in a particularly attractive way during the blue hour. At this time, the sky has a certain residual brightness which makes your subject look particularly vivid.
To ensure that you expose your illuminated subject correctly, use the spot or selective metering mode on your EOS and measure a relatively bright area of the building. This will ensure that you don't end up with overexposed highlights in your final image. Alternatively, you can work with multi-segment metering and exposure compensation, keeping an eye on the histogram. Set a minus correction until you have captured the bright areas of the image on the right-hand side of the histogram. Ideally, white balance should be set for the dominant light source.
For example, if your building is lit by halogen spotlights, then "artificial light" is the right choice. Mixed lighting situations between daylight and artificial light are sometimes difficult to judge. If you want to know exactly, you can carry out a manual white balance. Special white balance filters are available from various suppliers.
When shooting in RAW format, white balance and image style can be adjusted afterwards. For JPEG photographers, the 'neutral' style is a good choice.
Useful accessories include a tripod and remote shutter release, or the Camera Connect app for vibration-free shutter release for longer exposures. With this equipment, you can even make people 'disappear' in front of your buildings. By using an extremely long exposure time, you can simply blur out moving objects.